Victor0512
-
Content Count
33 -
Joined
-
Last visited
-
Days Won
3

-
-
Check out my post
-

A40158DA-F3F5-4F75-989A-8F16866EFB1A.jpeg
Victor0512 commented on Victor0512's gallery image in Members Gallery
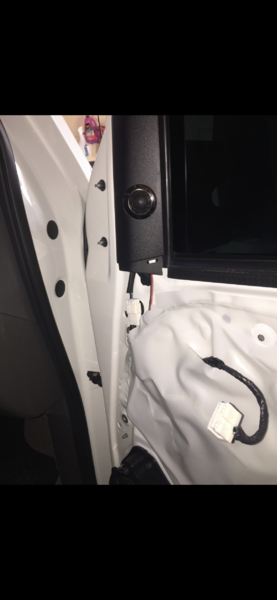
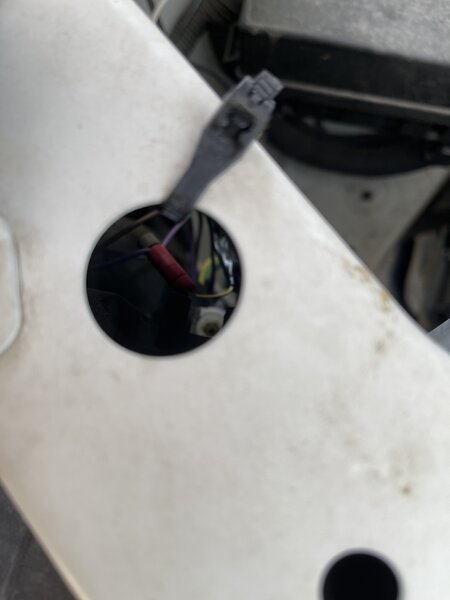 Okay so the black goes to negative , black wire , red goes to the fuse box mark as (acc+) this step up gives you the always on white led look. to get the amber led all you do is connect to light purple wire using a posi-tap connector that way you don’t cut the wire. all these wire are from you right and left turn signal harness. let me know if you need help with anything else. I’ll try to get a picture up
 -
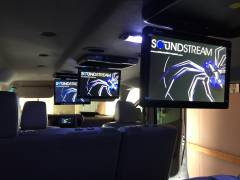
TV & Audio upgraded 3x tv - DVD player- speakers replacements and installation pics
-
-
Victor0512 changed their profile photo
-
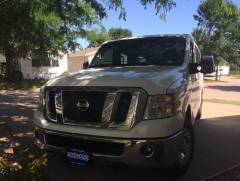
 Sioux Falls , SD
 -
47E44F0A-97D2-4F24-BDB1-2A6F4FDB6068.jpeg
Victor0512 commented on Victor0512's gallery image in Members Gallery
 You can either place it inside removing the housing or place it outside . Depends on how much work you want to do.
 -
47E44F0A-97D2-4F24-BDB1-2A6F4FDB6068.jpeg
Victor0512 commented on Victor0512's gallery image in Members Gallery
The leds are from Amazon ,LEADTOPS Flexible Led Light Strip 2 Pcs 24 Inch Dual Color LED Headlight Surface Strip Tube Light White & Amber Daytime Running Light Waterproof Switchback Sequential Lamp Turn Signal Light. -
-
47E44F0A-97D2-4F24-BDB1-2A6F4FDB6068.jpeg
Victor0512 commented on Victor0512's gallery image in Members Gallery
The kit comes with everything you need. You can place it around the headlight in the inside or outside. Inside requires you to open the headlight housing. It’s really on how much work you want to do. let me know if you do plan on doing it, that way I can show you which wires you tap into. -
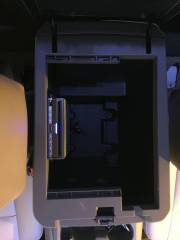
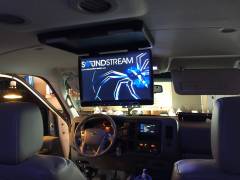 Thanks! I got the monitors from Newegg.com and the DVD player from Crutchfield.com
 -
-
-
-
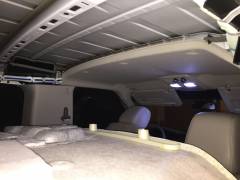
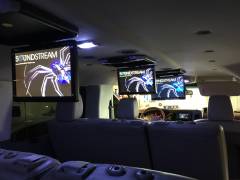
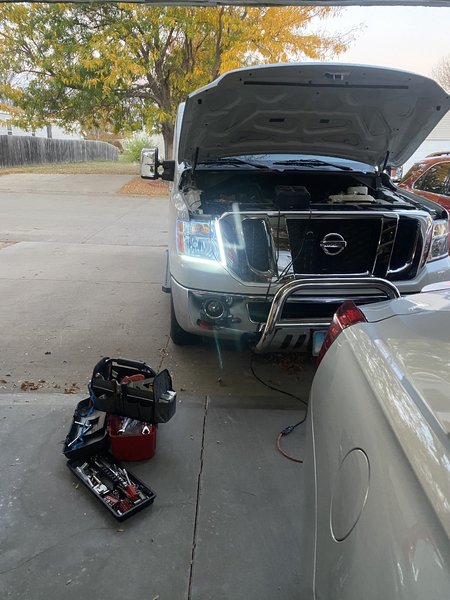
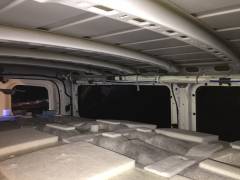 @crystal , I remove all the panels because I did the install myself. I also seen the monitors on the side and I didn't like either. There was a reasoning for it , when you install a monitor , some places place a wooden board to hold the monitor in place between the monitor and the headliner by removing the headliner I was able to get a exact location of the roof support beams which I drill on to which helps keep the monitor solid in place. If I did the side install like others have you would need to go with a smaller monitor. The other reason was if you notice in the picture , the airbag run all along the back on both side so if I did the side install I risk losing my airbag. Safety is always 1st It took me 2 days because I did it in winter. The van is big and you have a lot of room to work with. But a few thing to consider, i pick the monitor only screen because they are slim and the monitors that come with DVD are bulky, saves on head room. That's why I pick to have the DVD separate , plus it looks clean and like it came from the factory. Plus the tvs I got can be move side to side for viewing from any seat. The only cables you run from the top is the AV cables and the power cables, then run them behind the airbag and down the side pillar. My Nv is a SL model 3500 . So if you have a SL it should look the same. I did it myself because if I take it somewhere to install what I did it was anywhere between 2k to 3k . I plan for everything I needed which helps.
 -
-
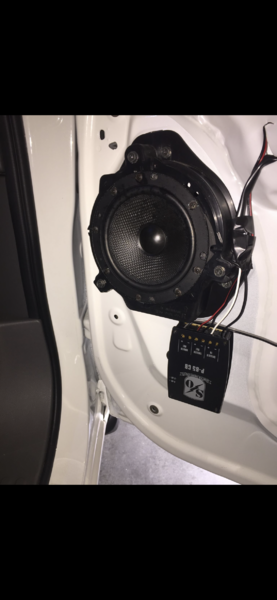
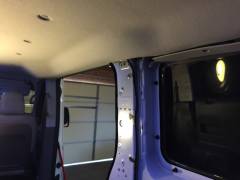
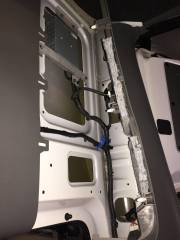
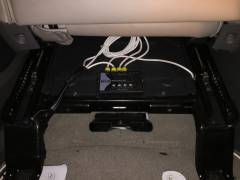
I was worried the factory radio wasn't going to be enough but I was wrong it sound hard and clear even at high levels, which the factory speaker couldn't handle and sounded like garbage. I did run all videos cables on one side and left the other side clear for future power cables for the amp and subs to prevent noises interfering.
-
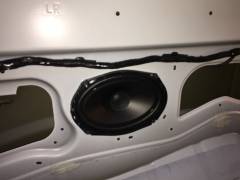
Speakers are 6x9 kickers on the back and the front are 6 1/2 with crossovers components speakers added a pic of the tweeter. Give it a clear crisp sound and tight bass. I don't have a sub yet but there is room and space when I remove the panels and can put 2 8inch subs on each side in a custom enclosure and that would save me room and not have a big box. Will be working on that soon.